How To Secure Tool Chest to Truck Bed
One of the most common concerns for new truck owners is securing a tool chest to the truck bed properly so that it doesn’t fall out. This critical task is usually outsourced to professionals. However, you might be wondering how to secure a toolbox to a truck bed on your own.
If you are looking for how to secure the tool chest to a truck bed, drill four to six holes inside the bed, spray it with an etching primer to prevent rusting, and secure the toolkit in place with nuts and bolts.
If you’re interested in learning exactly how to go about this process, keep reading to find out.
Why Do You Need To Secure Tool Chests Properly?
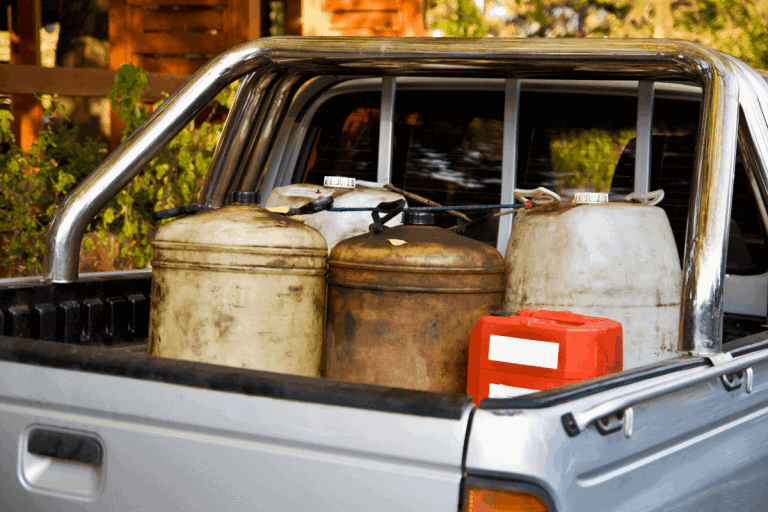
Truck toolboxes are one of the best ways to haul your tools around securely while protecting them from bad weather. However, if you don’t install them properly in your truck bed, they will come out and cause your tools to be scattered all over the side of the road. In the worst-case scenario, these tool chests could barrage through your cab and cause you to be severely injured.
Therefore, securing your tool chests with the proper materials is essential to keeping your tools safe while ensuring your safety.
How Do You Find The Right Tool Box?
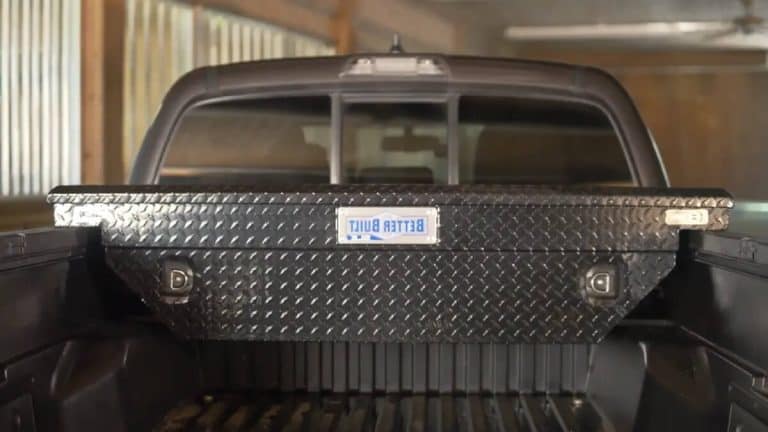
Tool chests come in a variety of different shapes and sizes. The chest that your neighbor swears by might not be appropriate for your truck because it’s too large or small. Before purchasing your tool chest, carefully measure the truck bed appropriately so you can buy a tool chest that fits your truck properly.
Some measurements you need to take when determining the shape of the chest you take are as follows:
- Height of the bed wall
- Distance between the interior of the bed rails
- Space between the exterior of the bed rails
- Distance between the base of wheel wells and the bulkhead
Your toolbox should not be hanging off of the sides of the truck or blocking your vision in the rearview mirror.
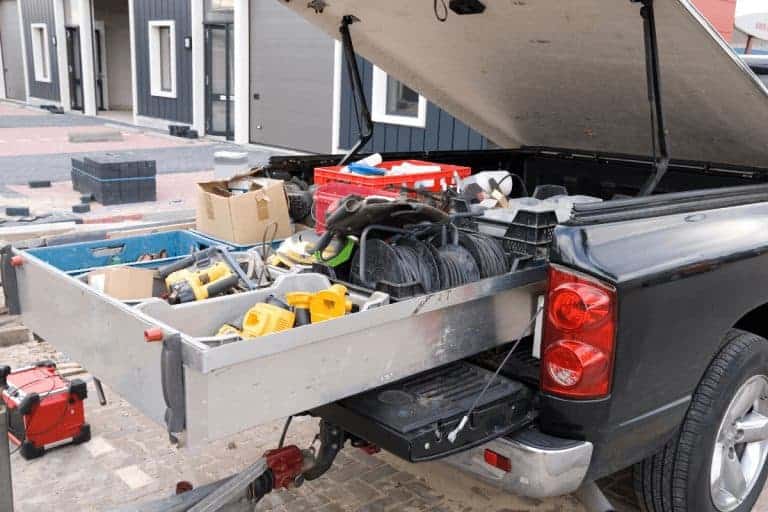
Other factors to consider when choosing the size of the toolbox you need to buy are the type and number of tools you want to place within. Do you want to put cable ties within? How many wrenches are you going to be using? All of these things factor into the size of the toolbox.
If you’re going to have many tools, you might also want to get a chest with multiple compartments.
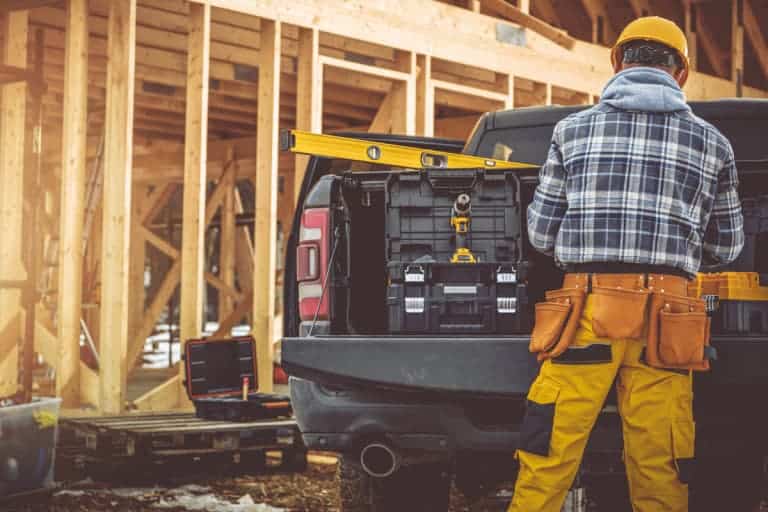
How Do You Secure a Tool Chest to the Truck Bed?
Before you start with the actual process of installation, pad your truck bed with foam or rubber padding. This is necessary because your metal chest will end up scratching and damaging the bed without the padding. It will also create a tremendous amount of noise when you drive due to the scraping of the two walls.
After putting in padding, put the tool chest in the position that you want to install it in and see if you can open and close the lid freely without anything getting in the way. If there are obstructions, move your toolkit appropriately.
Once you have determined a proper location and ensured the right conditions for a toolbox, you can start with the installation process.
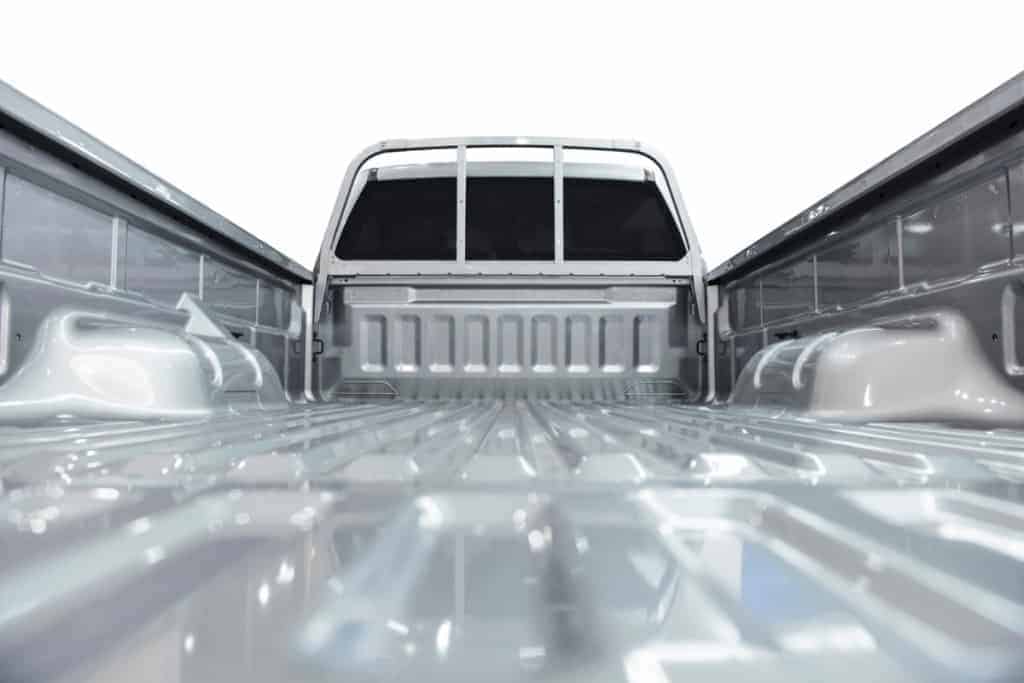
Installing a Chest in a Truck With Pre-Drilled Holes
Modern trucks usually come with pre-drilled holes as manufacturers recognize the necessity for a tool kit on a truck. Here’s what you do if your truck has these holes:
- Remove the rubber plugs from the holes. These plugs are inserted to preserve the shape of the holes before and after the truck is assembled. Once the plugs are removed, the bottom of the tool chest you have bought should align with the pre-existing holes.
- Screw the box in place. Use standard nuts and bolts to screw the box tightly in place. Some tool chests come with the needed hardware. If your tool chest doesn’t, and you don’t have the appropriate screws, you can order this Qualihome Bolts, Nuts, and Washer Set.
When you’re screwing the chest in place, ensure that it is secure but not overly tight, as this could cause rail damage.
Installing a Chest in a Truck Bed Without Pre-Drilled Holes
Drilling a hole into your bed is a bit tricky, but a novice can do it anyway! Here are some points that you need to take into account before you start drilling:
- Check the underside. Before you start drilling, always check the underside of all the locations you want to drill at. Otherwise, you could be drilling into something important like the gas tank or wiring. This step does not take much time at all, and it is easy to see if you will encounter any future issues.
- Use a hole punch. To ensure that your drill bit doesn’t walk around when you begin drilling, use a hole punch like this MulWark 5″ Spring-Loaded Hole Punch. It also reminds you of where you’re supposed to be drilling, so you don’t accidentally do it in a different location.
- Use a primer. Once you’re done drilling, you need to use some etching primer to ensure that the hole doesn’t rust. This is especially important if you have a steel bed as compared to an aluminum or composite bed. If you don’t have any, you can use this Rust-Oleum Dark Green Self-Etching Primer Spray Paint. Only after it has dried a bit should you start inserting screws.
Depending on the type of tool chest you buy, you need to be drilling anywhere from four to six holes. When you’re drilling, use a thicker drilling bit so that you can insert thicker nuts and bolts. These secure the chest much more firmly than flimsy, thin screws and reduce the possibility of the toolbox coming out greatly.
If you don’t already have a drill or the appropriate drill bit sizes, you can head down to the corner store to buy the necessary items. Alternatively, feel free to purchase this NEIKO 5 Piece Drill Bit Set or this Dewalt 20V Cordless Drill with Drill Bit Set.
Once you’re done with drilling the holes, align the toolbox with the holes and screw it in place with nuts and bolts.
How To Take Care of Your Toolbox
After installing your toolbox, all that’s left for you to do is load it up with all the tools you’ll ever need. Even if you buy a toolbox that can weather the elements, dirt and grime can still accumulate around and inside the box over time. Make sure to clean your toolbox regularly to keep it in good shape.
A car wash does not count as cleaning your toolbox! All you need is a strong soap or degreaser. Wet a rag with it, and wipe it across the surface of the toolbox until it is all clean. You don’t even have to unscrew your toolbox every time you clean it.
When cleaning your toolbox, you should also check that the securing nuts and bolts have not loosened over time. If they have, it’s a simple fix of tightening them and reloading your tools.
Conclusion
Securing your toolbox to the truck bed is not as complicated as it might seem. By following the steps outlined in this article, you will be able to do this task yourself instead of paying money to a professional to do it for you.
If you’re not interested in disfiguring your truck bed, you can also secure your toolbox using chains. However, the toolbox is more likely to come off using this method, so use it at your own risk!